
Server-side tracking depends on a complete data layer. If product, cart, and order data are missing or inconsistently structured, every tool downstream receives incomplete events. The JENTIS WooCommerce plugin removes that setup step for WooCommerce shops by building the data layer JENTIS needs automatically.
This article explains what the plugin does, what it does not do, and what you need in place before installing it.
What the plugin does
The plugin adds the e-commerce data from your WooCommerce shop to the data layer in the structure JENTIS expects. This covers the product, category, cart, checkout, and order information that JENTIS uses to build events.
No manual data layer configuration is required. Once the plugin is active, the data layer is populated on each relevant page without further changes to theme or template code.
What the data layer enables
JENTIS reads the data layer on the server side and forwards events to connected tools. For a WooCommerce shop, this means Google Analytics 4, Google Ads, Meta, and the other tools in the JENTIS connector library continue to receive e-commerce events, now from your own domain rather than from client-side scripts.
Because events are collected server-side and stored in first-party cookies, they are not affected by ad blockers or browser tracking prevention such as Safari ITP. The result is more complete purchase, add-to-cart, and checkout data in your analytics and advertising tools.
Consent is handled through the JENTIS consent management integration. No user data is tracked before the visitor's consent status has been recorded.
What the plugin does not do
The plugin builds the data layer. It does not replace the JENTIS platform itself. To send events to any tool, you need a JENTIS account and a configured container in the JENTIS Tag Manager, including the tools you want to connect and the consent settings that apply to them.
The plugin also does not modify your shop's checkout, product, or order logic. It reads data that WooCommerce already generates.
Requirements
- A WordPress site running WooCommerce
- An active JENTIS account with a configured container
- A consent management setup connected to JENTIS
Installation
- Install the JENTIS plugin from the WordPress plugin directory or upload it under Plugins > Add New.
- Activate the plugin and enter your JENTIS container details.
- Verify in the JENTIS Tag Manager that e-commerce events are arriving as expected.
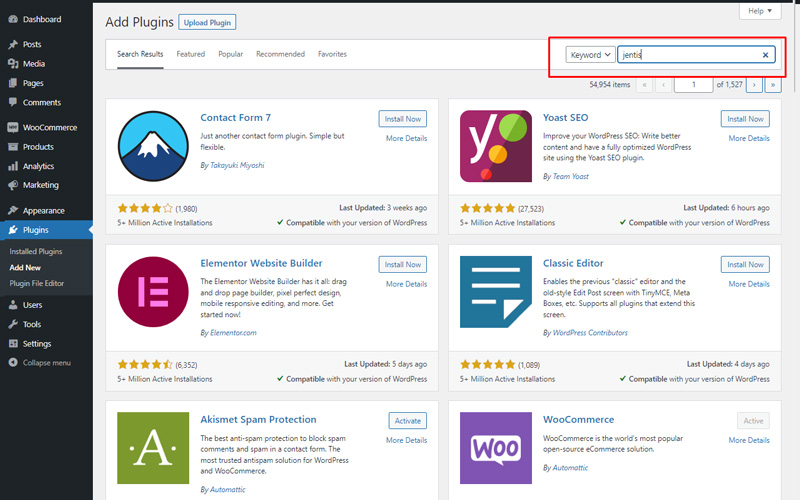
Search for “JENTIS” under Plugins in Wordpress.
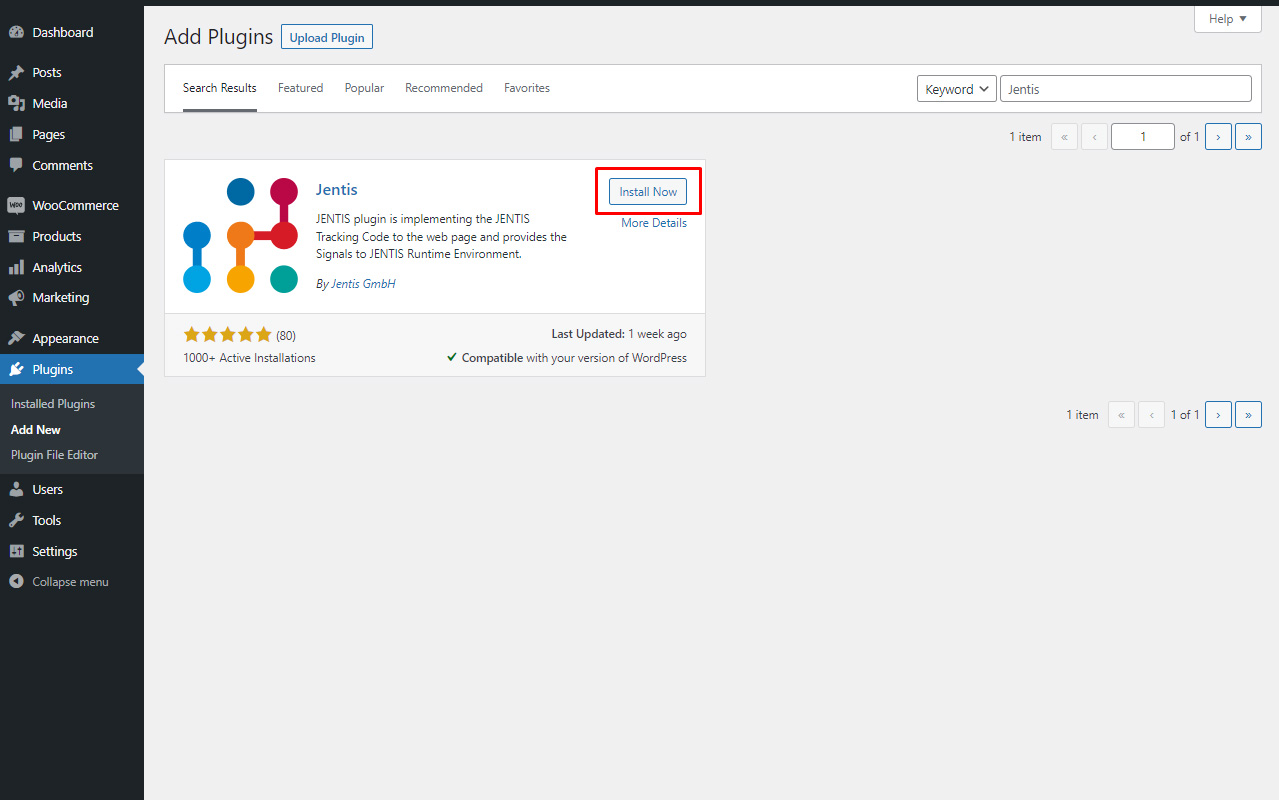
Click the “Install” button.
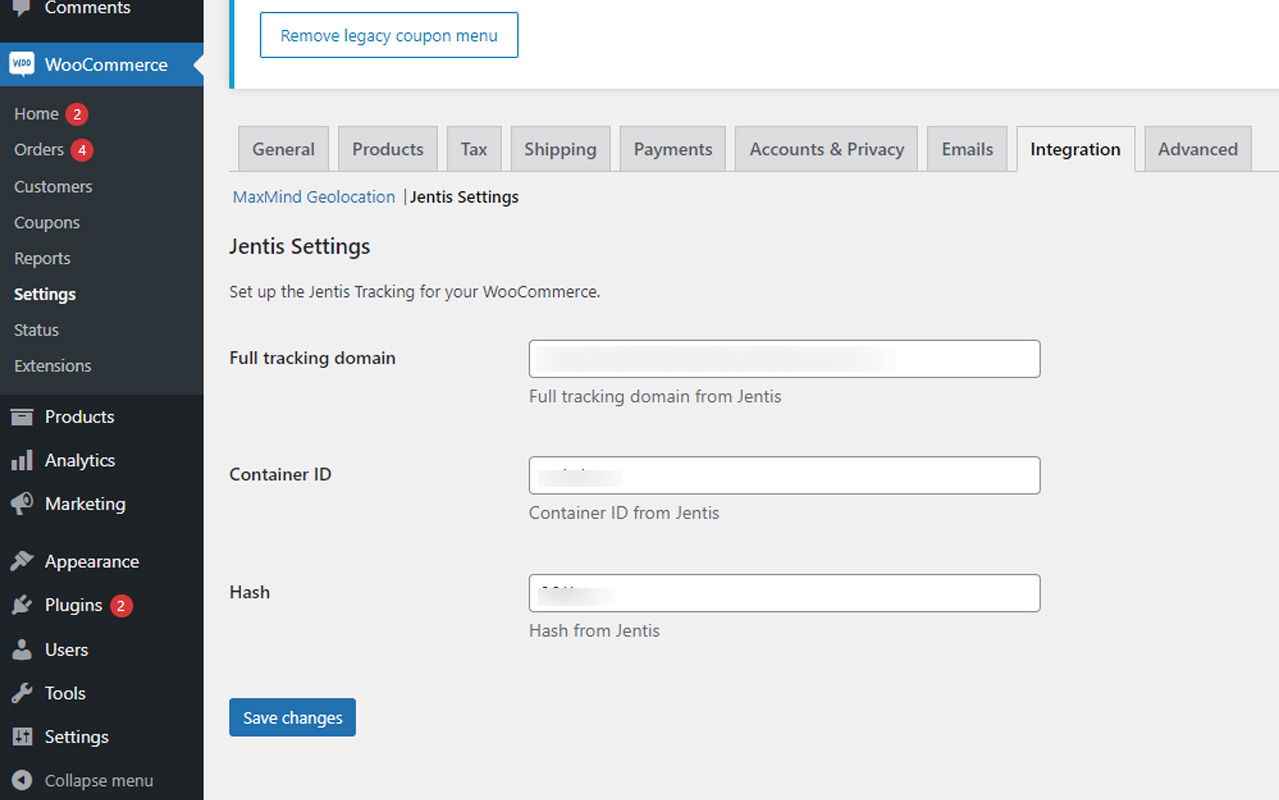
Fill in the three required fields in the settings.
_compressed.webp)

.webp)

